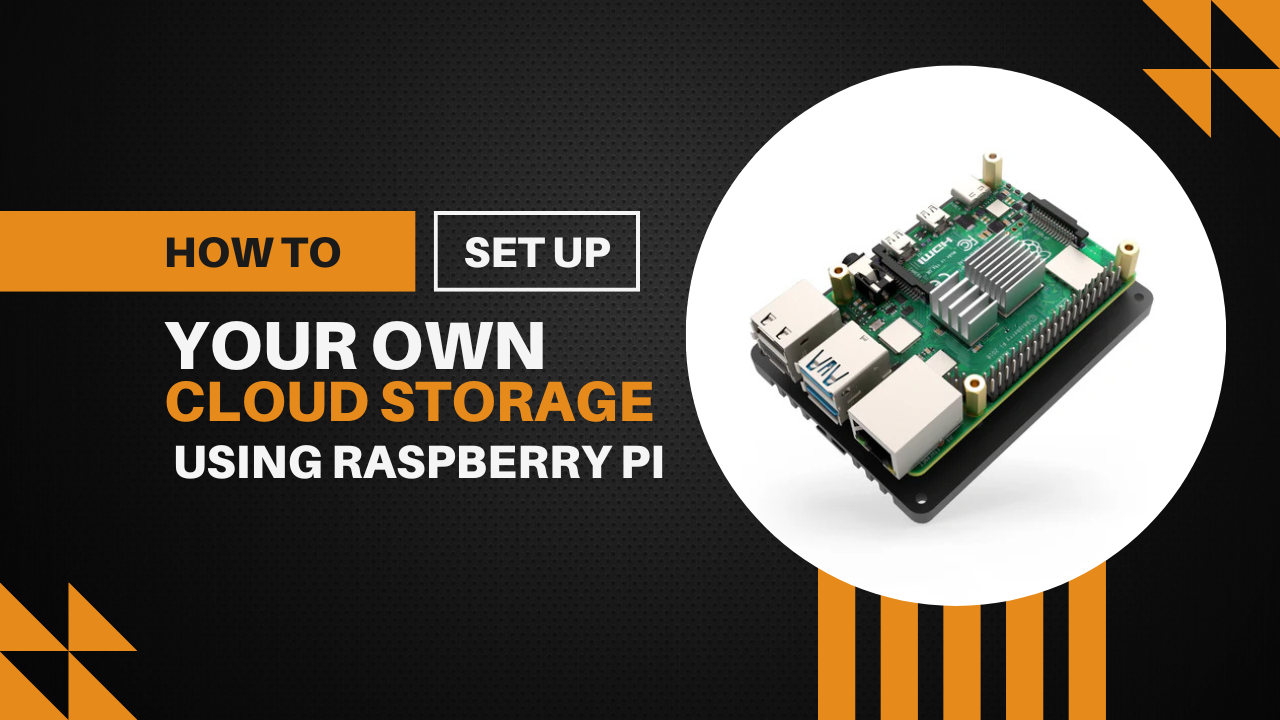
In today’s digital world, where privacy and control over data are increasingly important, building your own personal cloud storage is a smart and rewarding project. Rather than relying on third-party services like Google Drive or Dropbox, you can create your own cloud server using a compact, cost-effective Raspberry Pi. This guide will walk you through everything you need to know about setting up personal cloud storage with Raspberry Pi—from hardware requirements to software installation and remote access.
Why Build Your Own Cloud Server?
Creating a self-hosted cloud on Raspberry Pi offers several advantages:
- Complete control over your data
- No monthly subscription fees
- Customizable storage size based on your needs
- Access files from anywhere, securely
Whether you’re a student, developer, small business owner, or privacy-conscious individual, a Raspberry Pi cloud server setup is a flexible, low-cost solution for secure file storage and backup.
What You’ll Need for Your Raspberry Pi Cloud Server
Before diving into the installation steps, ensure you have the following components ready:
Hardware Requirements:
- Raspberry Pi 4 (at least 2GB RAM; 4GB or 8GB recommended for better performance)
- MicroSD card (32GB or more) – for the OS
- External HDD or SSD – for cloud file storage
- USB power supply (5V 3A)
- Ethernet cable or Wi-Fi connection
- Case with cooling (optional but recommended)
Software Requirements:
- Raspberry Pi OS (Lite version preferred for headless setups)
- Nextcloud – a popular open-source cloud software
- Apache, PHP, and MariaDB – for web server and database support
- SSH enabled (for remote terminal access)
Step 1: Set Up Raspberry Pi OS
- Download Raspberry Pi Imager from the official Raspberry Pi website.
- Flash Raspberry Pi OS (Lite) to the microSD card using the imager.
- After flashing, enable SSH by placing a blank file named ssh in the /boot partition.
- Insert the microSD card into your Pi, connect it to the network, and power it on.
You can find the IP address of your Pi by accessing your router’s admin panel or using tools like nmap.
Step 2: Update and Upgrade Your System
Access your Pi via SSH:
ssh pi@your_ip_addressUse the default password raspberry, then run the following to ensure your system is up to date:
sudo apt update && sudo apt upgrade -yThis ensures compatibility with the latest software dependencies.
Step 3: Install LAMP Stack (Linux, Apache, MySQL/MariaDB, PHP)
Nextcloud requires a web server, database, and PHP to function.
1. Install Apache Web Server:
sudo apt install apache2 -yTo test it, open a browser and enter your Raspberry Pi’s IP address. You should see the Apache welcome page.
2. Install MariaDB (MySQL alternative):
sudo apt install mariadb-server -y
sudo mysql_secure_installation
Set a strong root password and follow the prompts to enhance database security.
3. Install PHP and Required Modules:
sudo apt install php php-gd php-mysql php-curl php-xml php-mbstring php-zip php-bz2 php-intl php-bcmath libapache2-mod-php -yStep 4: Create a Database for Nextcloud
Log in to MariaDB:
sudo mariadbRun the following commands to set up your Nextcloud database:
CREATE DATABASE nextcloud;
CREATE USER 'nextclouduser'@'localhost' IDENTIFIED BY 'strongpassword';
GRANT ALL PRIVILEGES ON nextcloud.* TO 'nextclouduser'@'localhost';
FLUSH PRIVILEGES;
EXIT;
Replace strongpassword with your own secure password.
Step 5: Download and Install Nextcloud
Change directory to the web server root:
cd /var/www/html
sudo rm index.html
sudo wget https://download.nextcloud.com/server/releases/latest.zip
sudo unzip latest.zip
sudo mv nextcloud/* .
sudo rm -r nextcloud latest.zip
Set proper permissions:
sudo chown -R www-data:www-data /var/www/htmlStep 6: Configure Apache for Nextcloud
Create a new configuration file:
sudo nano /etc/apache2/sites-available/nextcloud.confAdd the following:
<VirtualHost *:80>
    DocumentRoot /var/www/html
    <Directory /var/www/html>
        AllowOverride All
        Require all granted
    </Directory>
</VirtualHost>
Enable the config:
sudo a2ensite nextcloud.conf
sudo a2enmod rewrite
sudo systemctl restart apache2
Step 7: Finalize Nextcloud Setup via Web Interface
Open your Raspberry Pi’s IP in a browser, and you’ll see the Nextcloud installation screen.
- Create an admin account
- Enter database info: Database: nextcloud User: nextclouduser Password: strongpassword
- Database: nextcloud
- User: nextclouduser
- Password: strongpassword
Click Finish Setup and wait a few minutes for the system to configure.
Congratulations! Your personal cloud storage using Raspberry Pi is now live.
Step 8: Mount External Hard Drive for Cloud Storage
Using an external drive ensures you have sufficient space.
- List disks:
lsblk- Create a mount point:
sudo mkdir /media/mycloud- Mount the drive:
sudo mount /dev/sda1 /media/mycloud- Make it permanent by editing /etc/fstab:
sudo nano /etc/fstabAdd this line:
/dev/sda1 /media/mycloud auto defaults,nofail 0 0Also, update Nextcloud’s data directory to point to this new path and give proper permissions.
Step 9: Secure Your Raspberry Pi Cloud Server
Enable HTTPS with Let’s Encrypt
Install Certbot:
sudo apt install certbot python3-certbot-apache -yRun Certbot to obtain a free SSL certificate:
sudo certbot --apacheFollow the prompts to secure your Nextcloud with HTTPS.
Enable Fail2ban and UFW Firewall
To prevent brute-force attacks:
sudo apt install fail2ban
sudo ufw allow OpenSSH
sudo ufw allow 'Apache Full'
sudo ufw enable
Step 10: Access Your Personal Cloud Anywhere
If you want to access your cloud storage remotely:
- Set up Dynamic DNS (DDNS) using services like No-IP or DuckDNS.
- Configure port forwarding in your router (port 443 and 80).
- Use Nextcloud mobile and desktop apps for syncing files seamlessly.
Maintenance Tips
- Regularly update Raspberry Pi OS and Nextcloud.
- Schedule backups of your cloud data.
- Monitor storage space and clean up logs or unused files.
Final Thoughts
Building your own personal cloud storage using Raspberry Pi is not only cost-effective but also empowers you with full control over your data. Whether you’re looking for a secure backup solution, a private file-sharing server, or a DIY tech project, setting up a Raspberry Pi cloud server is a highly rewarding experience.
From installing Nextcloud to configuring secure remote access, this step-by-step guide ensures you’re equipped with everything you need to create a reliable, private cloud environment right at home.