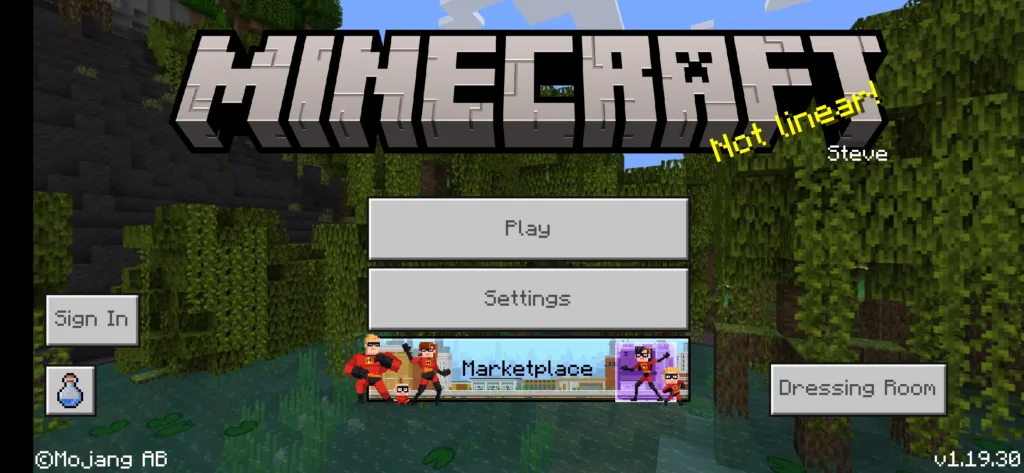
Minecraft, the popular block-building game, provides players with virtually limitless opportunities for creativity and self-expression. Creating custom skins for your in-game character is one of the most exciting ways to personalise your Minecraft experience.
Custom Minecraft skins allow you to express yourself whether you want to wear a unique outfit, imitate your favourite movie character, or simply stand out among other players. We’ll walk you through the process of making your custom Minecraft skins in this step-by-step tutorial. Prepare to unleash your imagination and transform your Minecraft avatar into a true reflection of it.
Let’s get started!
- Choose a Skin Editor Minecraft Skin EditorNovaskinSkindexPMC Skin 3D
- Minecraft Skin Editor
- Novaskin
- Skindex
- PMC Skin 3D
- Start with a Base TemplateCustomize Each SectionRefine and Finalize
- Customize Each Section
- Refine and Finalize
- Save and Apply the Skin
Choose a Skin Editor
There are several fantastic skin editors available for creating custom Minecraft skins, each with intuitive tools and a user-friendly interface. Let’s look at some popular alternatives:
Minecraft Skin Editor
For beginners, the official Minecraft Skin Editor is a great place to start. It has an easy-to-use interface that allows you to change every aspect of your character’s appearance. You can bring your imagination to life and design the perfect skin with a variety of colours, brushes, and editing tools at your disposal.
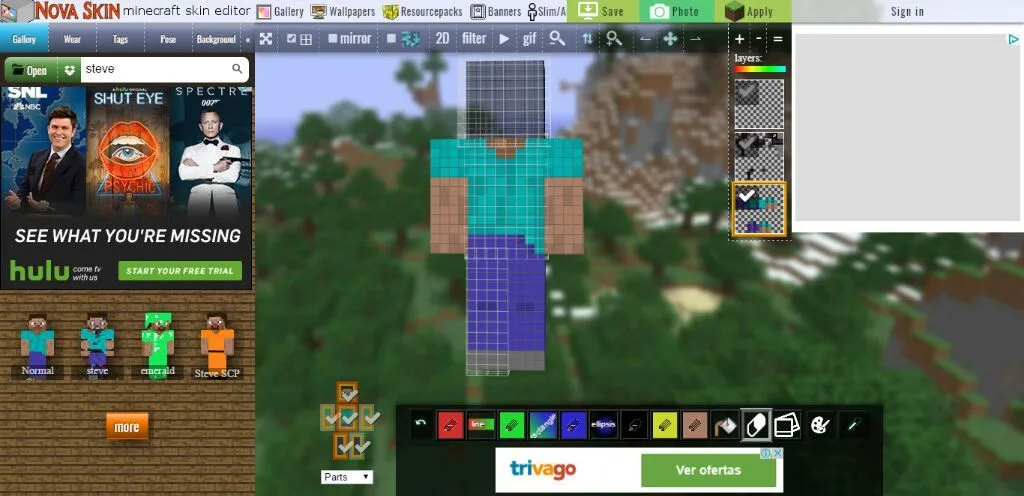
Novaskin
Novaskin is another popular Minecraft skin editor with a variety of advanced features. It includes a large number of pre-made templates, allowing you to start with a solid foundation and then customise from there. Novaskin also allows you to import and edit existing skins, making it an appealing option for both novice and experienced designers.
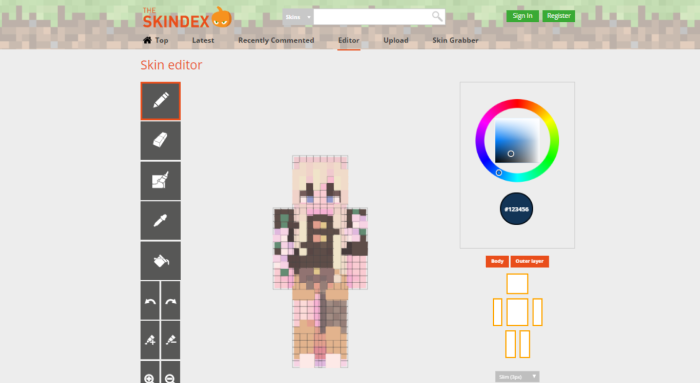
Skindex
Skindex, also known as Minecraft Skins, is a website that provides a large library of pre-made skins created by the Minecraft community. While it lacks a comprehensive editing interface, it is an excellent resource for those who prefer to browse and choose from a wide range of existing designs. Skindex can also be used as a source of inspiration before creating your unique skin.
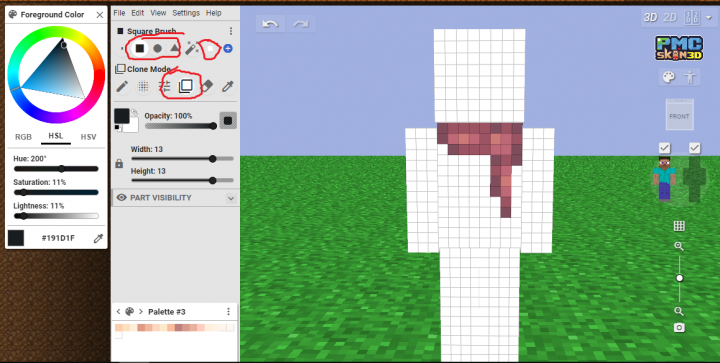
PMC Skin 3D
PMC Skin 3D is another 3D skin editor that allows you to create and edit Minecraft skins in 3D. It has a similar interface to MC Skins, but it also includes some additional features, such as a pose tool and a texture brush.
It is critical to choose a skin editor that matches the player’s preferences because it can make the process of creating custom skins more enjoyable and efficient. There are numerous skin editors available, each with its own set of advantages and disadvantages. Some skin editors are intended for inexperienced users, while others are intended for advanced users. Some skin editors have a plethora of features, whereas others are more basic.
When selecting a skin editor, keep the following factors in mind:
- Your level of expertise: If you are a beginner, you should select a skin editor with a simple interface and a limited number of features. If you have more experience, you might prefer a skin editor with more features and a more complex interface.
- Your desired characteristics are: Some skin editors include a variety of features, such as the ability to create 3D skins, import images, and work with layers. Other skin editors are simpler and have fewer features.
- Your financial situation: Some skin editors are completely free to use, while others require a monthly subscription fee.
After you’ve considered these factors, you can begin to narrow down your options. There are numerous skin editors to choose from, so you should be able to find one that meets your requirements and preferences.
Start with a Base Template
When you enter the skin editor, you’ll see a blank template of the Minecraft character. This template is divided into sections that represent various parts of the character’s body, including the head, torso, arms, and legs.
Begin by deciding on your skin’s overall design and theme. You can make something completely original or use a reference image to replicate a specific character or design.
Customize Each Section
You can now begin customising each section of the skin template with the tools provided by the skin editor. Change the colour, add patterns, design clothing, and even add accessories.
To modify the appearance of a specific section, select it in the skin editor and use the available tools. You can draw directly on the template with a brush tool or use various shape and colour tools to achieve the desired effect.
Take your time and experiment with various colours and designs to achieve the desired look. You can see how the changes will appear in the game in real-time by previewing them.
Refine and Finalize
After you’ve customised each section of the skin template, step back and evaluate the overall appearance. Adjust or refine the design as needed to ensure it is cohesive and visually appealing.
Pay attention to the small details and ensure they are in proper alignment with the character’s body. To get a closer look and make precise changes, use the skin editor’s zoom and rotate tools.
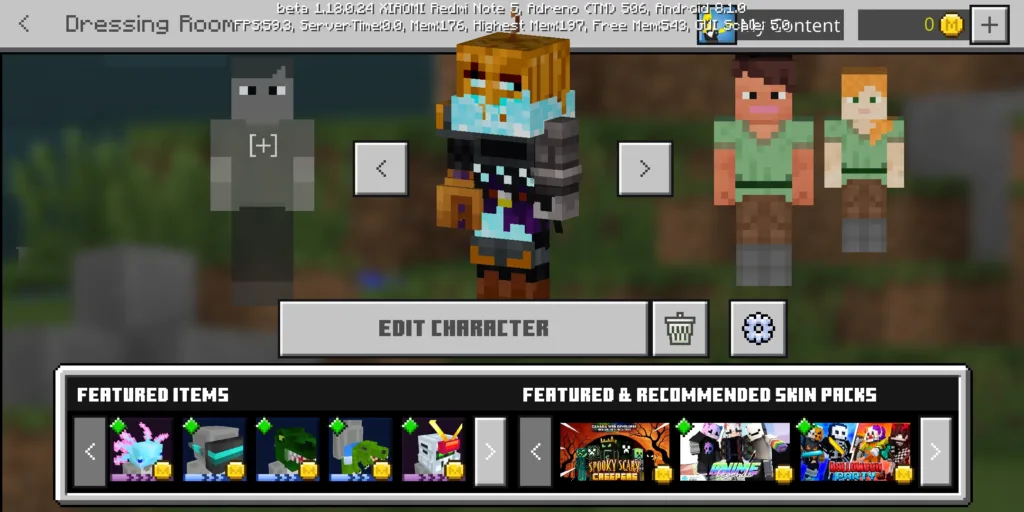
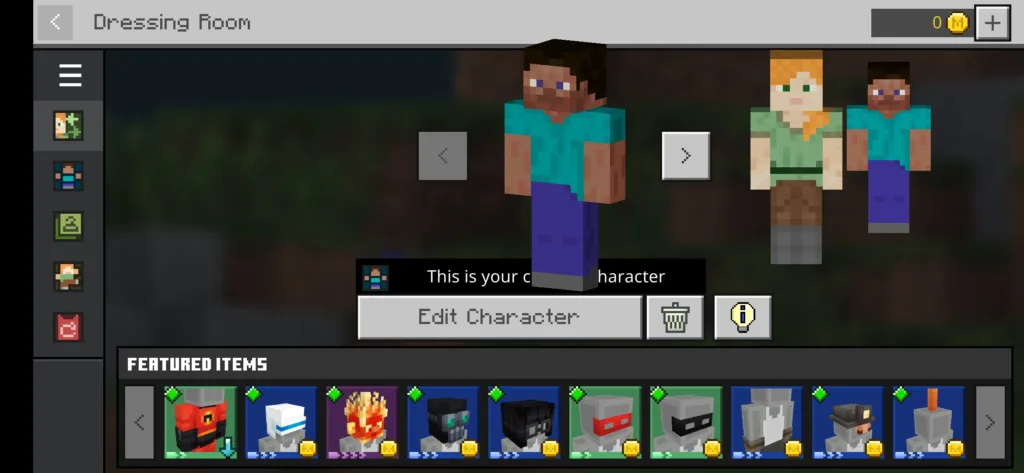
Save and Apply the Skin
When you’re finished with your custom Minecraft skin, save it and apply it to the game.
Look for the option to save the skin in the skin editor. Choose a location on your computer to save the file and give it a name that is easily remembered.
Follow these steps to apply the skin in Minecraft:
- Log in to your account and launch the Minecraft launcher.
- Click “Skins” or “Profile” from the main menu (depending on the version of Minecraft you’re using).
- Locate the saved skin file on your computer by clicking the “Browse” button.
- Choose the skin file and then click “Open” or “Apply.”
- Your Minecraft character will now have the skin.
That’s all! You have created and applied a custom Minecraft skin with success. Launch the game and explore the blocky world of Minecraft with your unique character design.
Remember that you can always return to the skin editor and make changes or create new skins whenever you want to change up your look. In the world of Minecraft, be creative, have fun, and express yourself!
Further Read: